Learning how to install vinyl stencils may seem intimidating, but with the right tools and steps, you’ll achieve professional results. Whether you’re decorating a court, wall, or custom surface, this guide will walk you through the process of vinyl stencil installation, ensuring crisp, sharp paint lines every time. Watch the video below or follow our step-by-step instructions to get started.
Learning how to install vinyl stencils may seem intimidating, but with the right tools and a clear process, it’s surprisingly easy. This guide will walk you through each step to ensure crisp, professional results every time.
Step 1: Measure and Align Your Stencil for Installation
- Start by measuring the surface to find the exact center.
- Align the center circles on the stencil with the center point you’ve marked.
- For multi-panel designs, use the alignment stars provided to seamlessly connect the panels.
- Secure the stencil with masking tape to prevent shifting during installation.
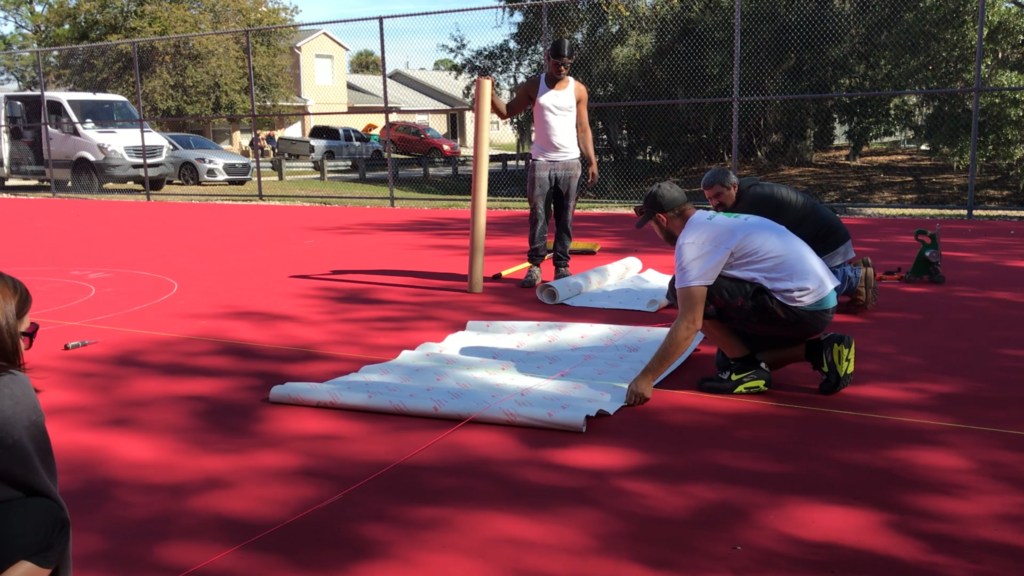
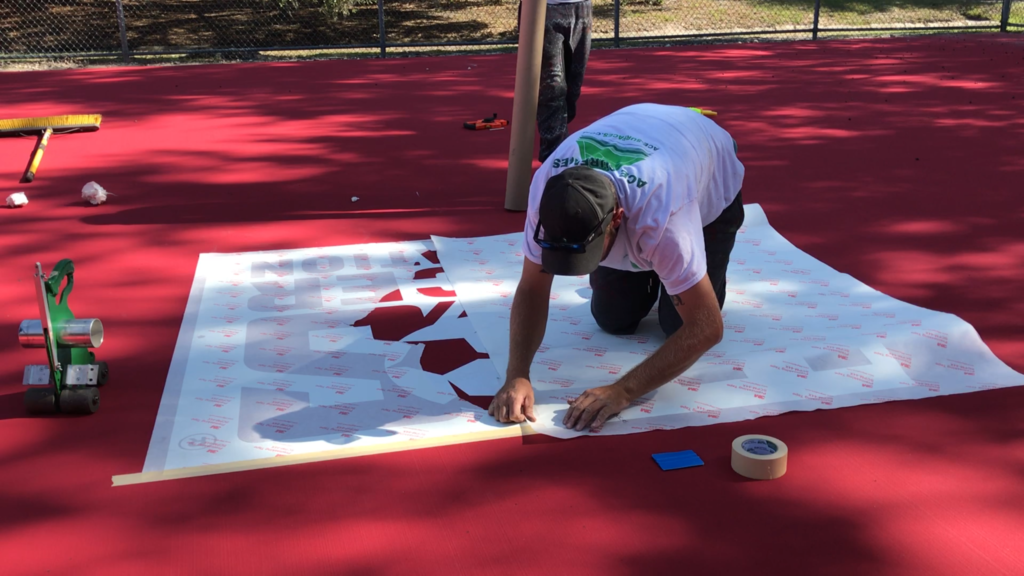
Step 2: Apply the Stencil to the Surface for Smooth Adhesion
- Start by peeling back a small section of the adhesive and pressing it onto the surface. Use masking tape to make sure the stencil stays in place while the rest of the stencil is being applied.
- For larger stencils, unroll slowly from the provided cardboard core while peeling the backing.
- As you peel off more of the backing, apply pressure to the stencil to ensure it sticks smoothly to the surface.
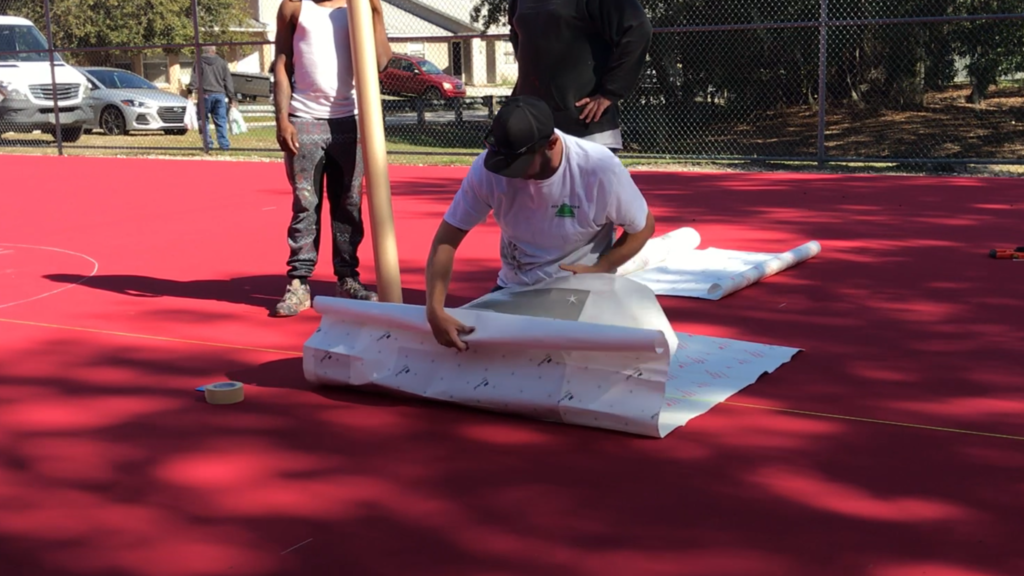
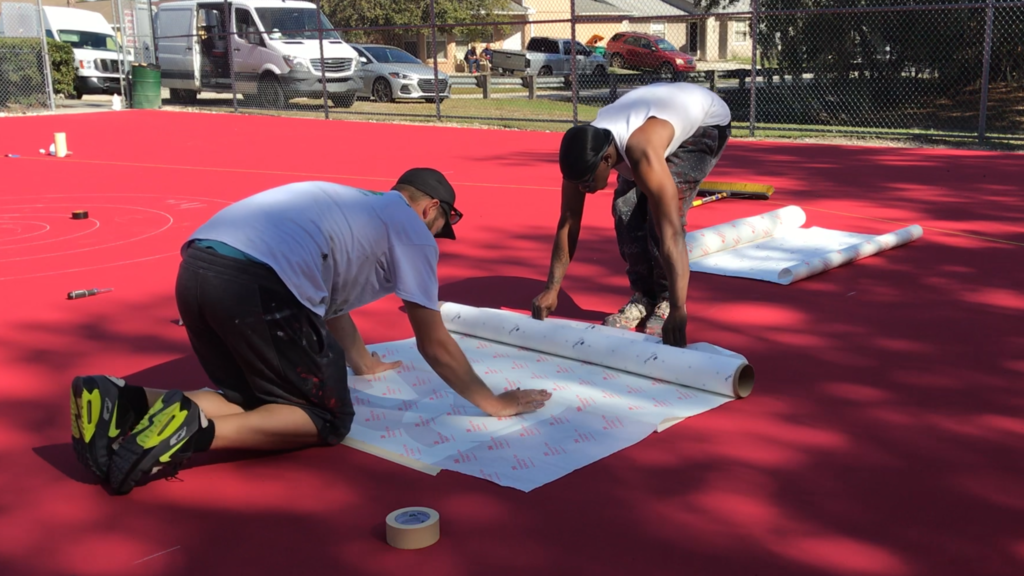
Step 3: Press Down the Stencil to Prevent Paint Bleed
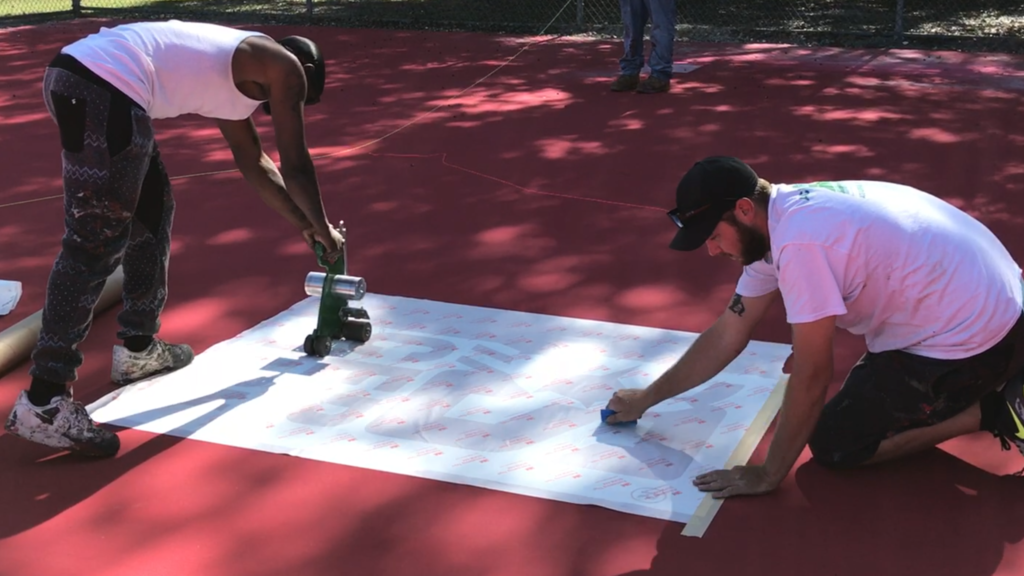
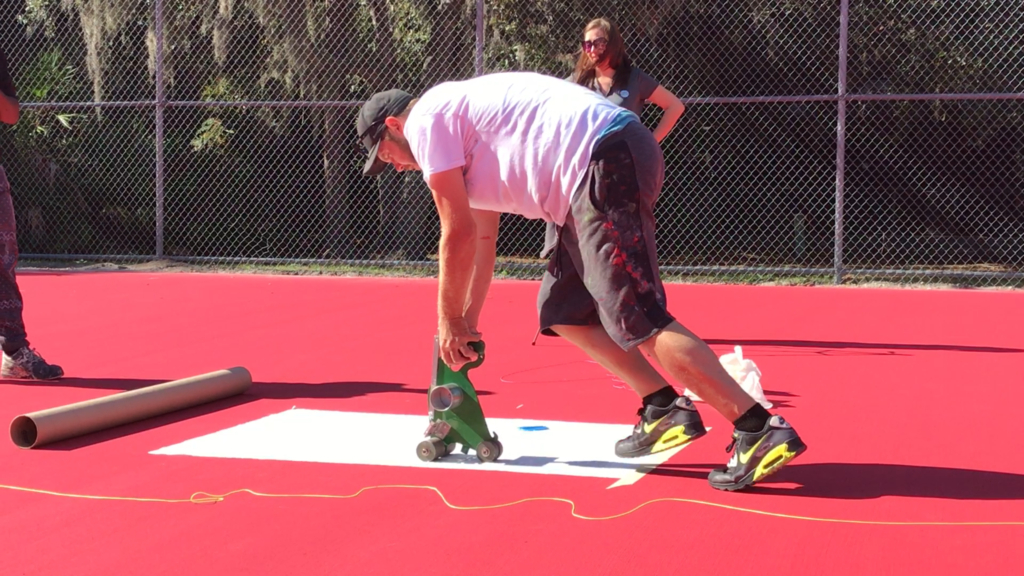
Once the stencil is fully applied, use a squeegee or tape machine to press it down firmly, focusing on the edges and intricate areas to prevent paint bleed and ensure a secure fit.
Step 4: Remove the Premasking Tape Carefully
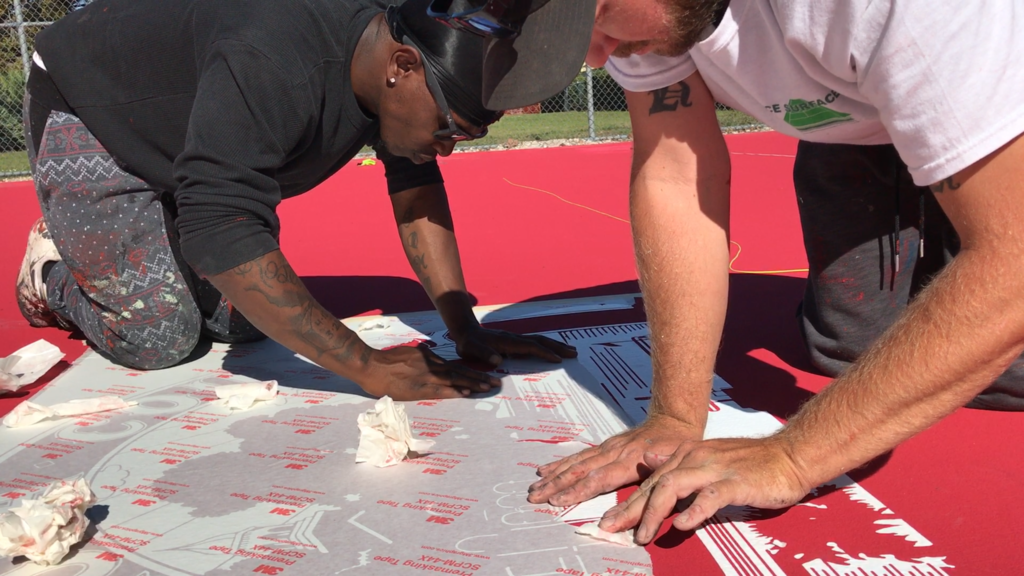
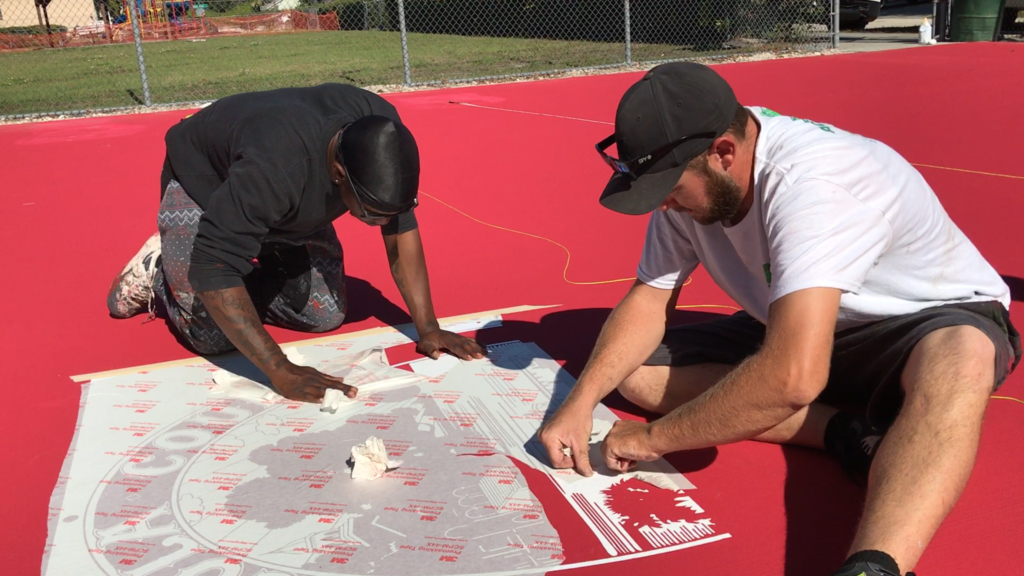
- Carefully peel the premasking tape parallel to the surface, not upwards, to avoid stretching the vinyl.
- Remove in small sections. If it sticks too much, dampen it slightly with water to reduce adhesion.
Step 5: Apply Primer to Ensure Sharp Paint Lines (Optional)
- Apply a thin layer of primer (e.g., Laykold Line Prime) inside the stencil to prevent paint bleed.
- Let the primer dry completely before continuing.
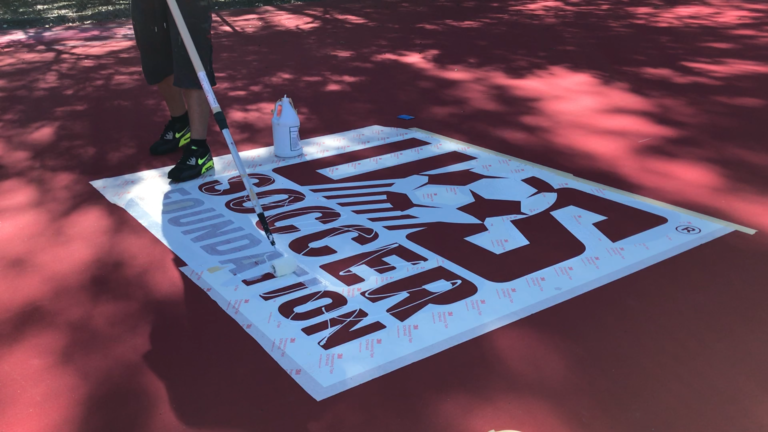
Step 6: Paint over the Stencil with Even Pressure
- Use a roller or sprayer with light, even pressure to apply the paint. Too much pressure may cause the paint to bleed under the stencil.
- Allow the first coat to dry completely before adding a second coat, if necessary.
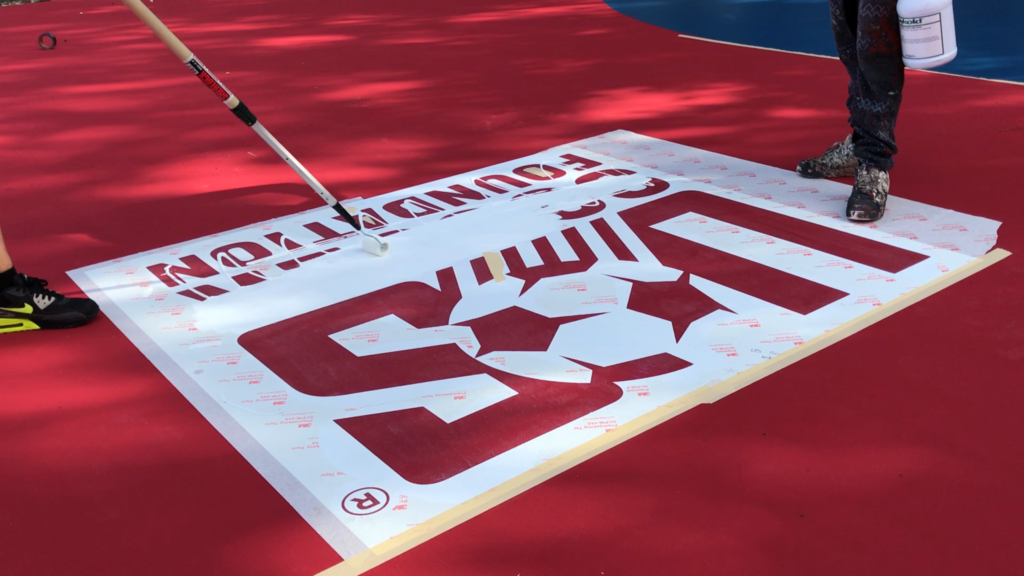
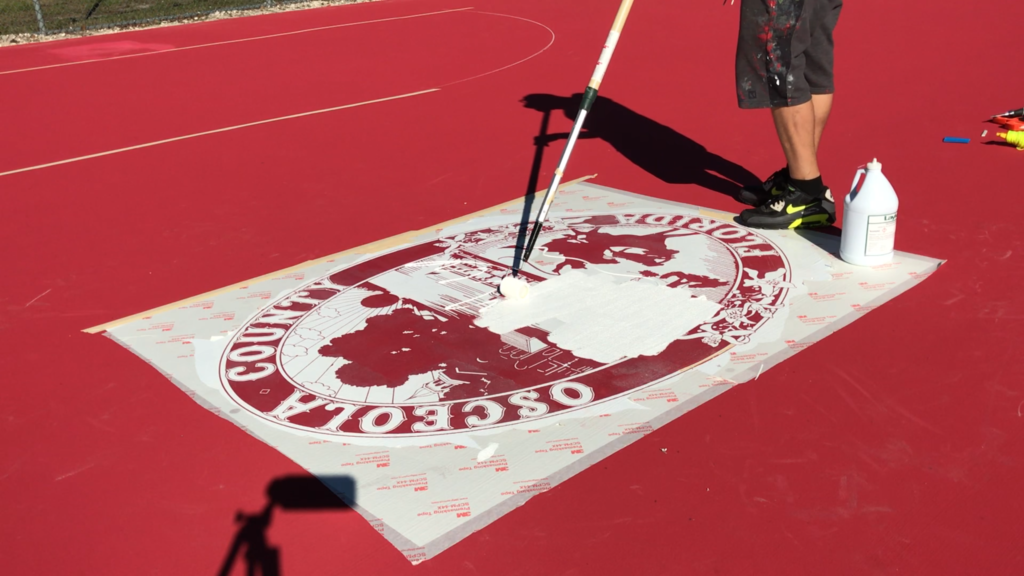
Step 7: Peel Off the Stencil for Clean Results
- After the paint has dried, peel off the stencil starting from one end and working your way across.
- For intricate designs, use a small tool to remove any leftover vinyl pieces.
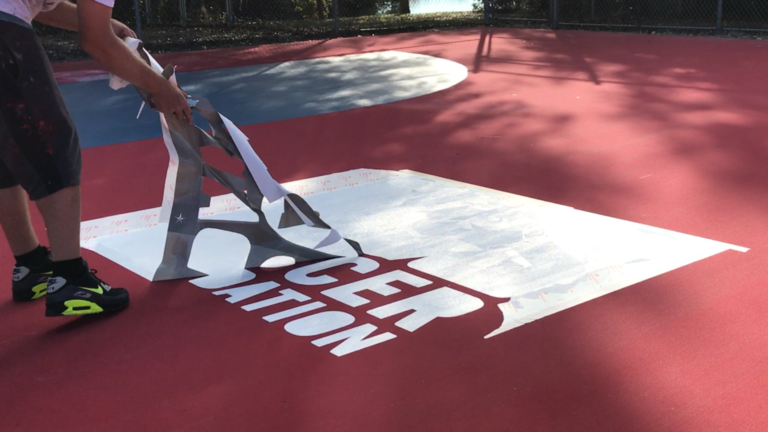
Step 8: Touch Up Your Design for a Perfect Finish
Inspect the design and make any necessary touch-ups for a perfect finish.
Step 9: Repeat for Additional Colors or Layers
If your project involves multiple colors or layers, align the layers using the provided alignment squares and repeat steps 1-8 for each color mask to ensure every layer is precise.
Pro Tip:
Install when the surface temperature is at least 75°F for better adhesion and easier application.
Now that you’ve mastered how to install vinyl stencils, you’re ready to create stunning, professional-quality designs. For more tips and tools, explore our Stencil Guides or request a quote to start your custom project today.

